Raid in Minecraft
This Minecraft tutorial explains all about Raids (also known as Village Raids) with screenshots.
Steps to trigger a Raid
1. Find a Pillager Outpost
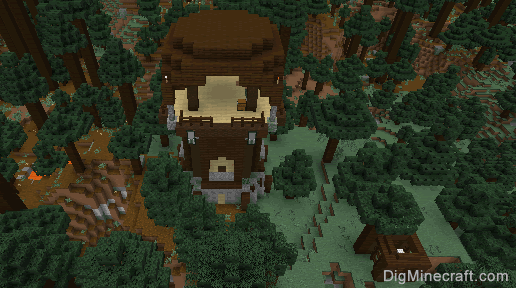
First, you need to find a Pillager Outpost in Minecraft. A Pillager Outpost is a structure that spawns naturally in the game near a village. Because the Pillager Outpost generates near a village, it can appear in any biome that a village can.
Here is a picture of what a Pillager Outpost in the Taiga biome looks like:
2. Kill the Pillagers and find the Leader
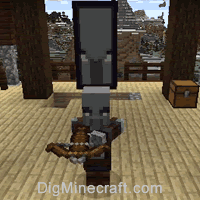
The Pillager Outpost is protected by a new mob called the pillager. Once you enter the Outpost, the pillagers will begin attacking you. Kill the pillagers and find the Patrol Leader. The leader is easy to spot because it wears an illager banner on its head.
3. Kill the Patrol Leader and Get Bad Omen
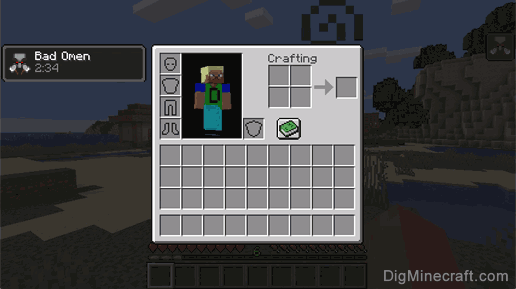
Next, you must kill the Patrol Leader. Once you kill the leader, you will be cursed with a new status effect called Bad Omen. The Bad Omen effect is a new status effect that causes a group of hostile mobs to spawn and attack when a player with the Bad Omen effect enters a village. This event is called a Raid.
4. Enter a Village to Trigger a Raid
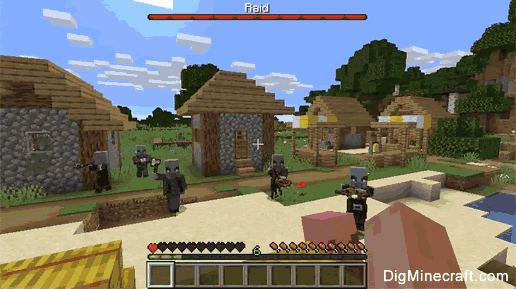
Next, find and enter a village to trigger a Raid. Upon entering the village, you should see a Raid progress bar appear on the screen (similar to the Ender Dragon or Wither Boss progress bar). This bar will initially be empty and then will start to fill.
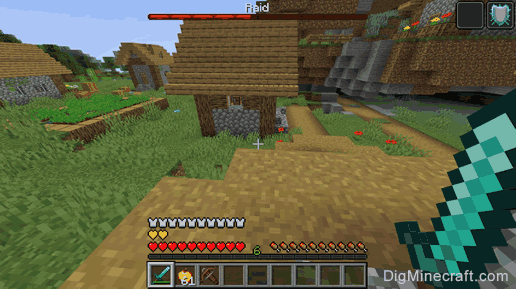
Once the Raid bar is full, the Raid will begin. Listen for the sound of the Raid horn. This horn means that the first wave of Raiders is coming. The Raiders must run to the Village from the nearest Pillager Outpost, so this could take a while!!
5. Kill the Raiders
Next, you should see a group of Raiders consisting of pillagers, ravagers, vindicators, evokers and witches rush toward the player with Bad Omen.
As the player kills these hostile mobs, the Raid progress bar will decrease indicating how many remaining mobs must be killed to end the Raid.
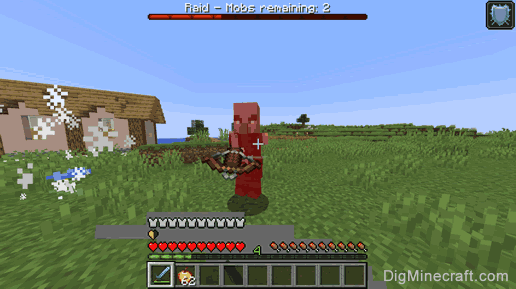
When you've killed all of the Raiders, the Raid bar will disappear and the Raid is over!
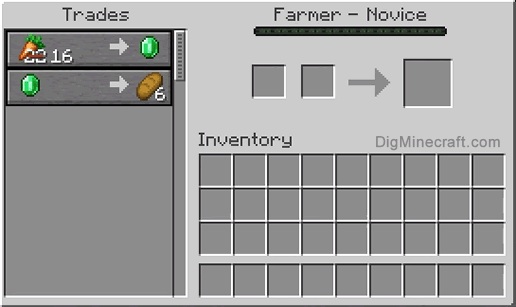
6. Trade with Villagers at a Discount
After the Raid is over, the player will be given the Hero of the Village status effect.
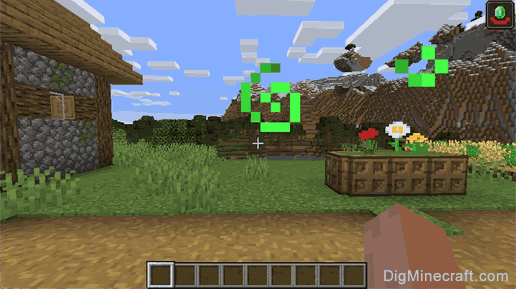
This status effect allows the player to trade with villagers at a discounted price.
Congratulations, you just learned about Village Raids in Minecraft.
Advertisements