How to use a Debug Stick in Minecraft
This Minecraft tutorial explains how to use a debug stick with screenshots and step-by-step instructions.
In Minecraft, the debug stick is a special item that you can use in Creative mode to change the property of a block. The debug stick does not work in Survival or Adventure mode and some blocks do not have properties that can be edited by the debug stick. Let's explore how to use a debug stick.
Required Materials
In Minecraft, these are the required materials to use a debug stick:

Steps to Use a Debug Stick
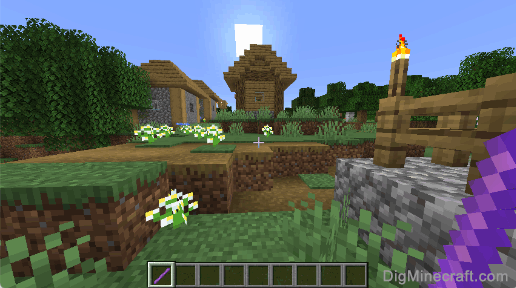
1. Hold the Debug Stick
To use a debug stick, first, select the debug stick in your hotbar. If you don't have a debug stick in your inventory, you can quickly get one with the give command for a debug stick.
2. Use the Debug Stick on a Block
Next, position your pointer (the plus sign) on the block whose property you wish to change. In this example, we want to change the property for the oak log.
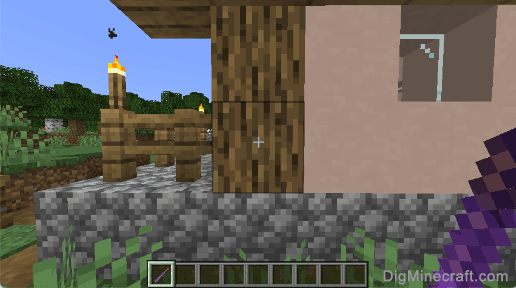
The game control to use the debug stick in Minecraft is:
- For Java Edition (PC/Mac), right click on the oak log.

You should see the message "axis" to z appear to indicate that the property for the oak log has changed. In this example, the "axis" property for the oak log has been changed to z. Each time you use the debug stick on the oak log, it will cycle through the options for the "axis" property (and change the orientation of the oak log), for example:
"axis" to z
"axis" to x
"axis" to y
Using a debug stick is a quick way to adjust blocks in your Creative world without having to destroy and replace the block each time. It can be helpful for adjusting the direction that stairs are facing or when you want to position/stack slabs. There are so many cool ways that you can use a debug stick.
Congratulations, you learned how to use a debug stick in Minecraft!
Advertisements