How to Tame and Ride a Mule in Minecraft
This Minecraft tutorial explains how to tame and ride a mule with screenshots and step-by-step instructions.
After you have tamed a mule in Minecraft, you can put a saddle on it and ride the mule. The saddle allows you to control the movements of the mule. Let's explore how to do this.
Required Materials to Ride a Mule
In Minecraft, these are the materials you can use to ride a mule:


Steps to Tame and Ride a Mule
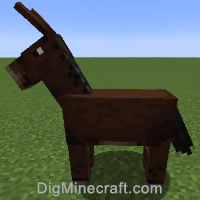
1. Find a Mule
In Minecraft when you find a mule, you can tame it.
Mules are usually found in the Plains biome.
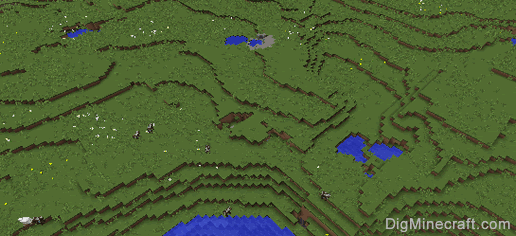
If you are having trouble finding a mule, you can always summon a mule using a cheat or you can use a spawn egg.
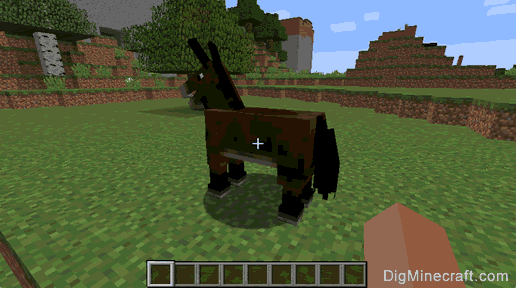
2. Tame the Mule
First, select an empty slot in your hotbar (because you must use your hand to tame the mule). You will tame a mule by repeatedly trying to mount the mule and getting bucked off.
The game control to tame the mule depends on the version of Minecraft:
- For Java Edition (PC/Mac), right click on the mule.
- For Pocket Edition (PE), you move your pointer over the mule and press the Mount button.
- For Xbox 360 and Xbox One, press the LT button on the Xbox controller.
- For PS3 and PS4, press the L2 button on the PS controller.
- For Wii U, press the ZL button on the gamepad.
- For Nintendo Switch, press the ZL button on the controller.
- For Windows 10 Edition, right click on the mule.
- For Education Edition, right click on the mule.
The mule will buck you off. Each time you are knocked off, try to mount the mule again. After every attempt, the mule will let you sit on it a bit longer before it bucks you off.
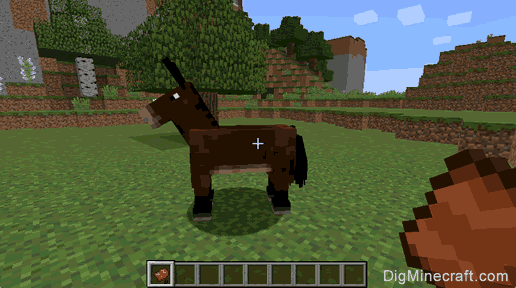
When the mule is tamed, you should see red hearts appear all around the mule and the mule will no longer buck you off.

Now at this point, you can sit on the mule but you can not control the movement of the mule until you put a saddle on the mule. So let's learn how to put a saddle on the mule.
3. Put a Saddle on the Mule
To put a saddle on a mule, select the saddle in your hotbar. The game control to put the saddle on the mule depends on the version of Minecraft:
- For Java Edition (PC/Mac), right click on the donkey to mount it and then press E for inventory.
- For Pocket Edition (PE), you move your pointer over the donkey and press the Mount button. Once mounted, tap on the button with 3 dots to open your inventory and then tap on the button with the picture of a saddle.
- For Xbox 360 and Xbox One, press the LT button on the Xbox controller to mount the donkey and then press the Y button to open your inventory.
- For PS3 and PS4, press the L2 button on the PS controller to mount the donkey and then press the
 Triangle button to open your inventory.
 - For Wii U, press the ZL button on the gamepad to mount the donkey and then press the X button to open your inventory.
- For Nintendo Switch, press the ZL button on the controller to mount the donkey and then press the X button to open your inventory.
- For Windows 10 Edition, right click on the donkey to mount it and then press E for inventory.
- For Education Edition, right click on the donkey to mount it and then press E for inventory.
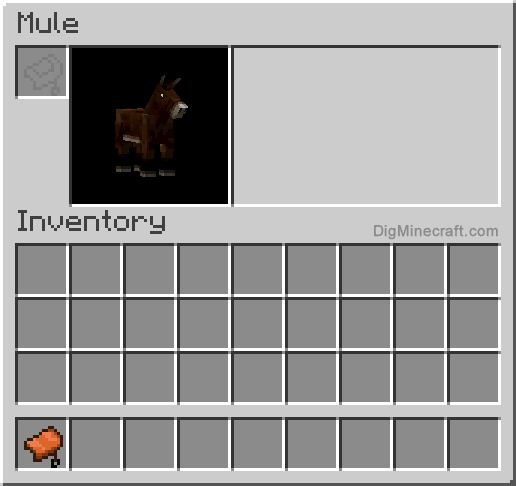
A window should open displaying the items that your mule is wearing.
Move the saddle from the hotbar to the saddle box on the left side of the mule picture.
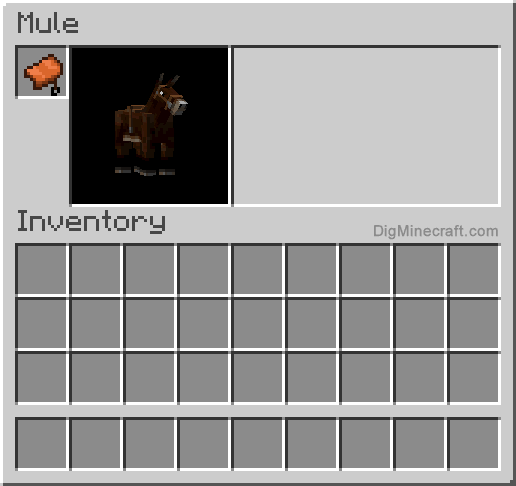
After you move the saddle to the saddle box, you will see your mule's appearance change as the saddle is worn.
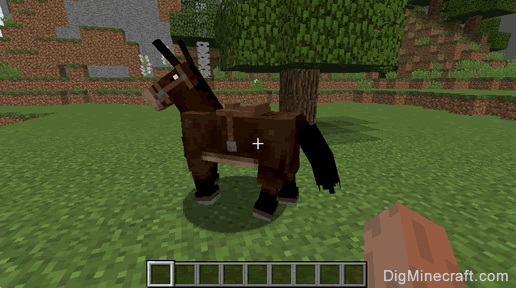
Now when you return to the game, you should see the mule wearing the saddle. Now let's learn how to ride the mule.
4. Mount the Mule
Now that you have tamed and put a saddle on a mule, you can ride it and control its movements. The game control to mount the mule depends on the version of Minecraft:
- For Java Edition (PC/Mac), right click on the mule.
- For Pocket Edition (PE), you move your pointer over the mule and press the Mount button.
- For Xbox 360 and Xbox One, press the LT button on the Xbox controller.
- For PS3 and PS4, press the L2 button on the PS controller.
- For Wii U, press the ZL button on the gamepad.
- For Nintendo Switch, press the ZL button on the controller.
- For Windows 10 Edition, right click on the mule.
- For Education Edition, right click on the mule.
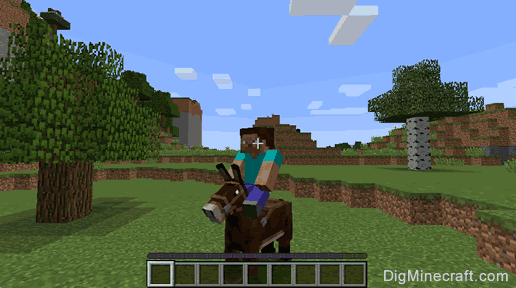
You will mount and be riding the mule. You can move the mule using the same controls that you use to move yourself.
Change the camera angle if you want to see yourself riding the mule.
5. Dismount the Mule
The game control to dismount the mule depends on the version of Minecraft:
- For Java Edition (PC/Mac), press the left shift key.
- For Pocket Edition (PE), press the Center button (ie: crouch/sneak button) twice.
- For Xbox 360 and Xbox One, press the Right Stick (RS) on the Xbox controller.
- For PS3 and PS4, press the Right Stick (RS) on the PS controller.
- For Wii U, press the Right Stick (RS) on the gamepad.
- For Nintendo Switch, press the Right Stick (RS) on the controller.
- Windows 10 Edition, press the left shift key.
- For Education Edition, press the left shift key.
Congratulations, you have just learned how to tame and ride a mule in Minecraft!
Things to Do with Mules
Here are some activities that you can do with mules in Minecraft:

Advertisements